Nissan X-Trail T31 Roof mounted solar panel
One of our lockdown projects in 2020 was to install a solar battery system and drawer fridge into the back of our Nissan X-Trail...

One of our lockdown projects in 2020 was to install a solar battery system and drawer fridge into the back of our Nissan X-Trail. The mission is to have a fridge that's ready to fire up whenever we have a camping trip, can last about a week, and then slowly recharges itself whenever we're parked in the sun.
Purchasing a panel
I went with Sunyee after watching some reviews on Youtube about their panels. These panels work out to be the exact length of the distance between the two roof rack mounts on the X-Trail.
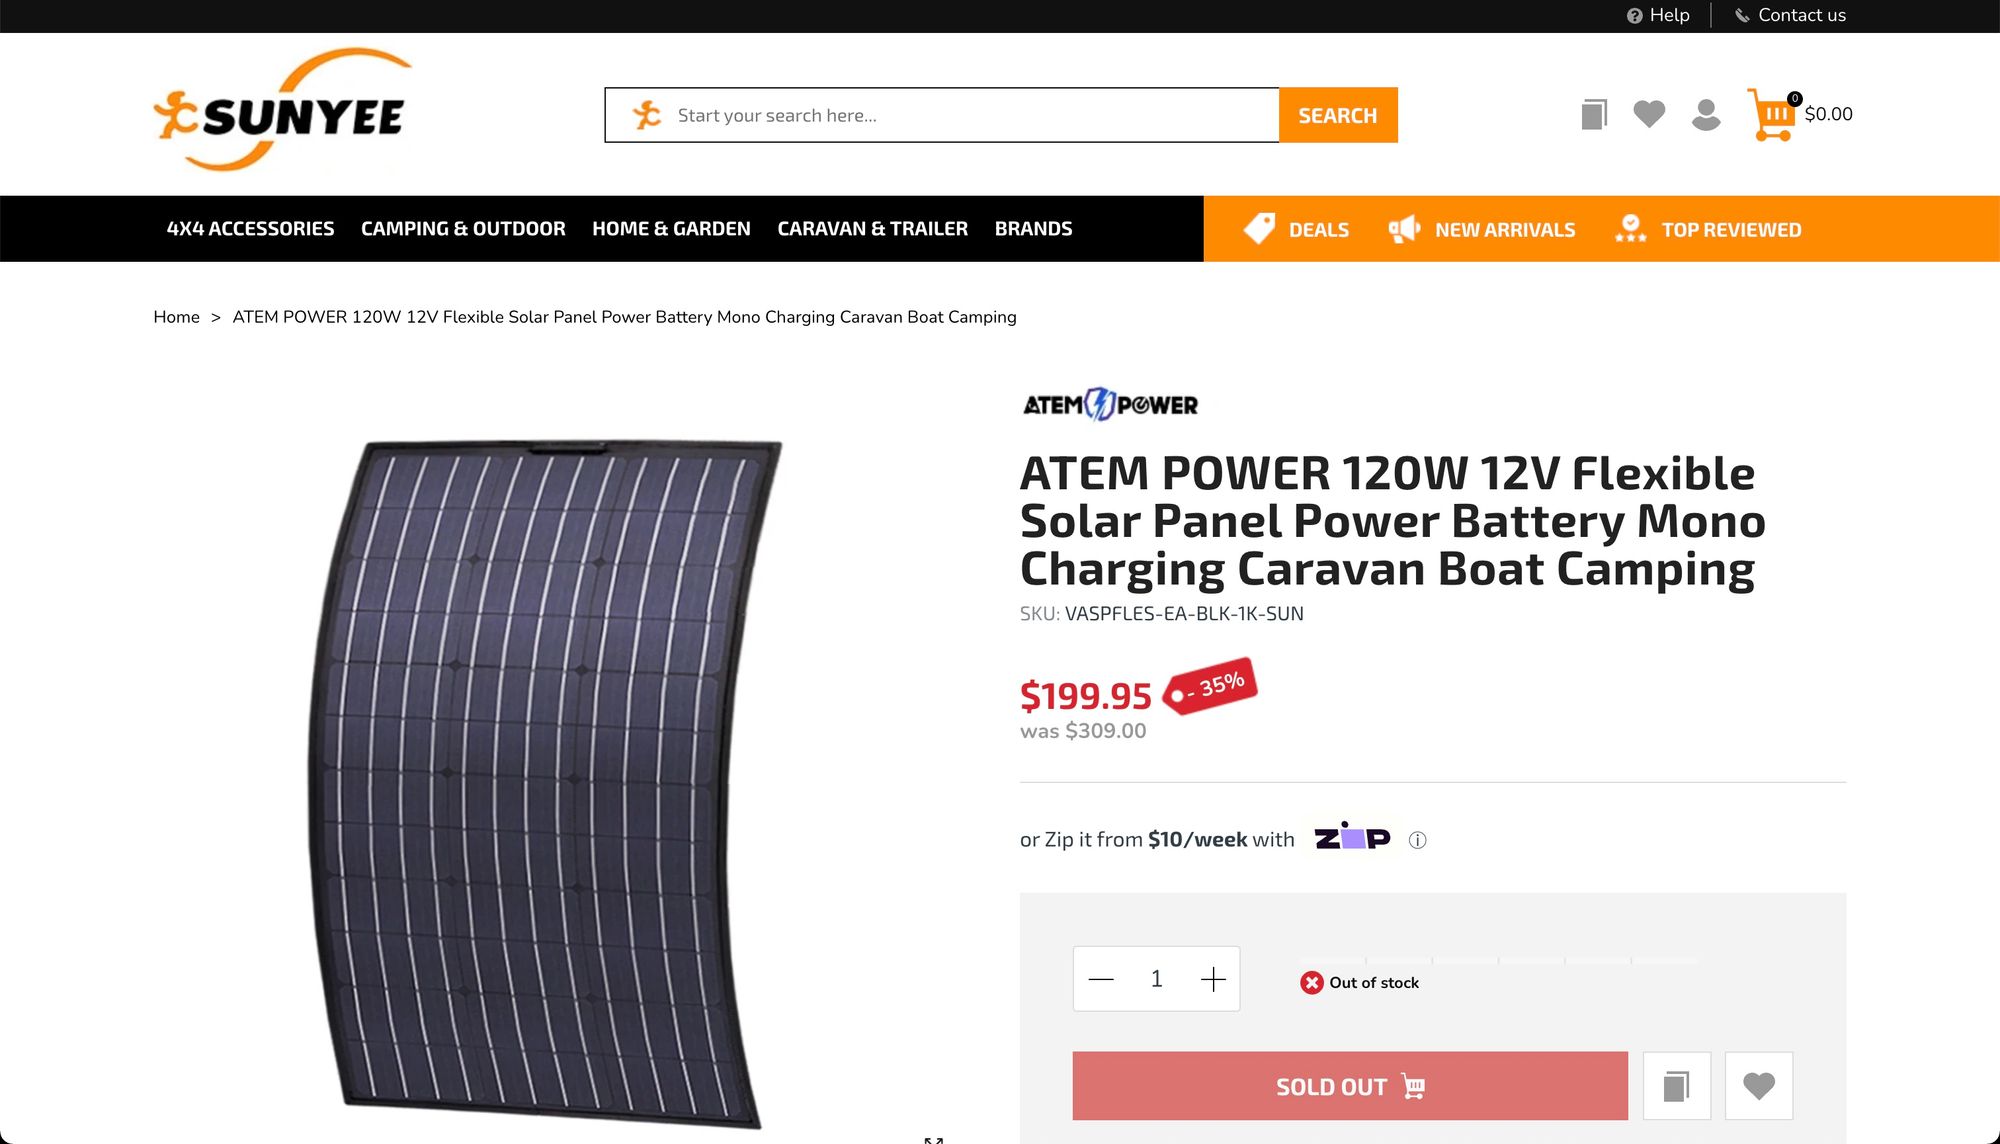
The X-Trail roof isn't completely flat so we need a flexible panel that can curve a bit. Flexible panels are also a bit lighter and seeing as it'll be fixed to the roof of the car durability is less of an issue - the car will essentially become its frame.
A note about safety
Right around the time I started this mod, three people died in Tasmania after a solar panel flew off a caravan and into traffic. I did a bit of research into how people were fixing panels to caravan roofs and found that people were using products like these to mount solar panels...
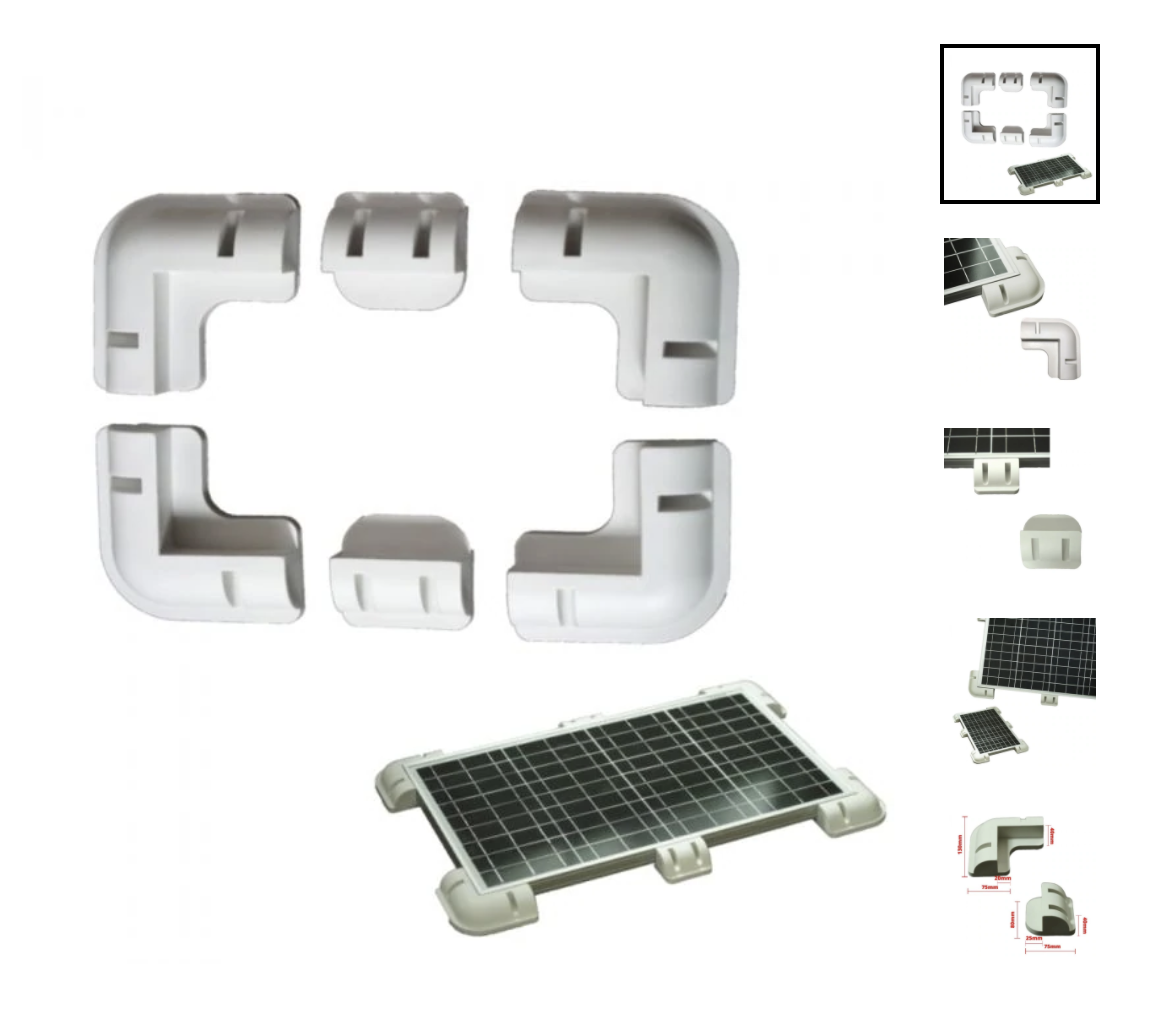
Firstly these panels are heavy glass panels, if they fall off they cause a lot of damage. Secondly there's not much holding a panel like that to those feet, and not much holding those feet to the roof of a van. For our mod we're using a flexible solar panel which is considerably lighter, and using a lot of Sikaflex which is way stronger.
Mounting the panel
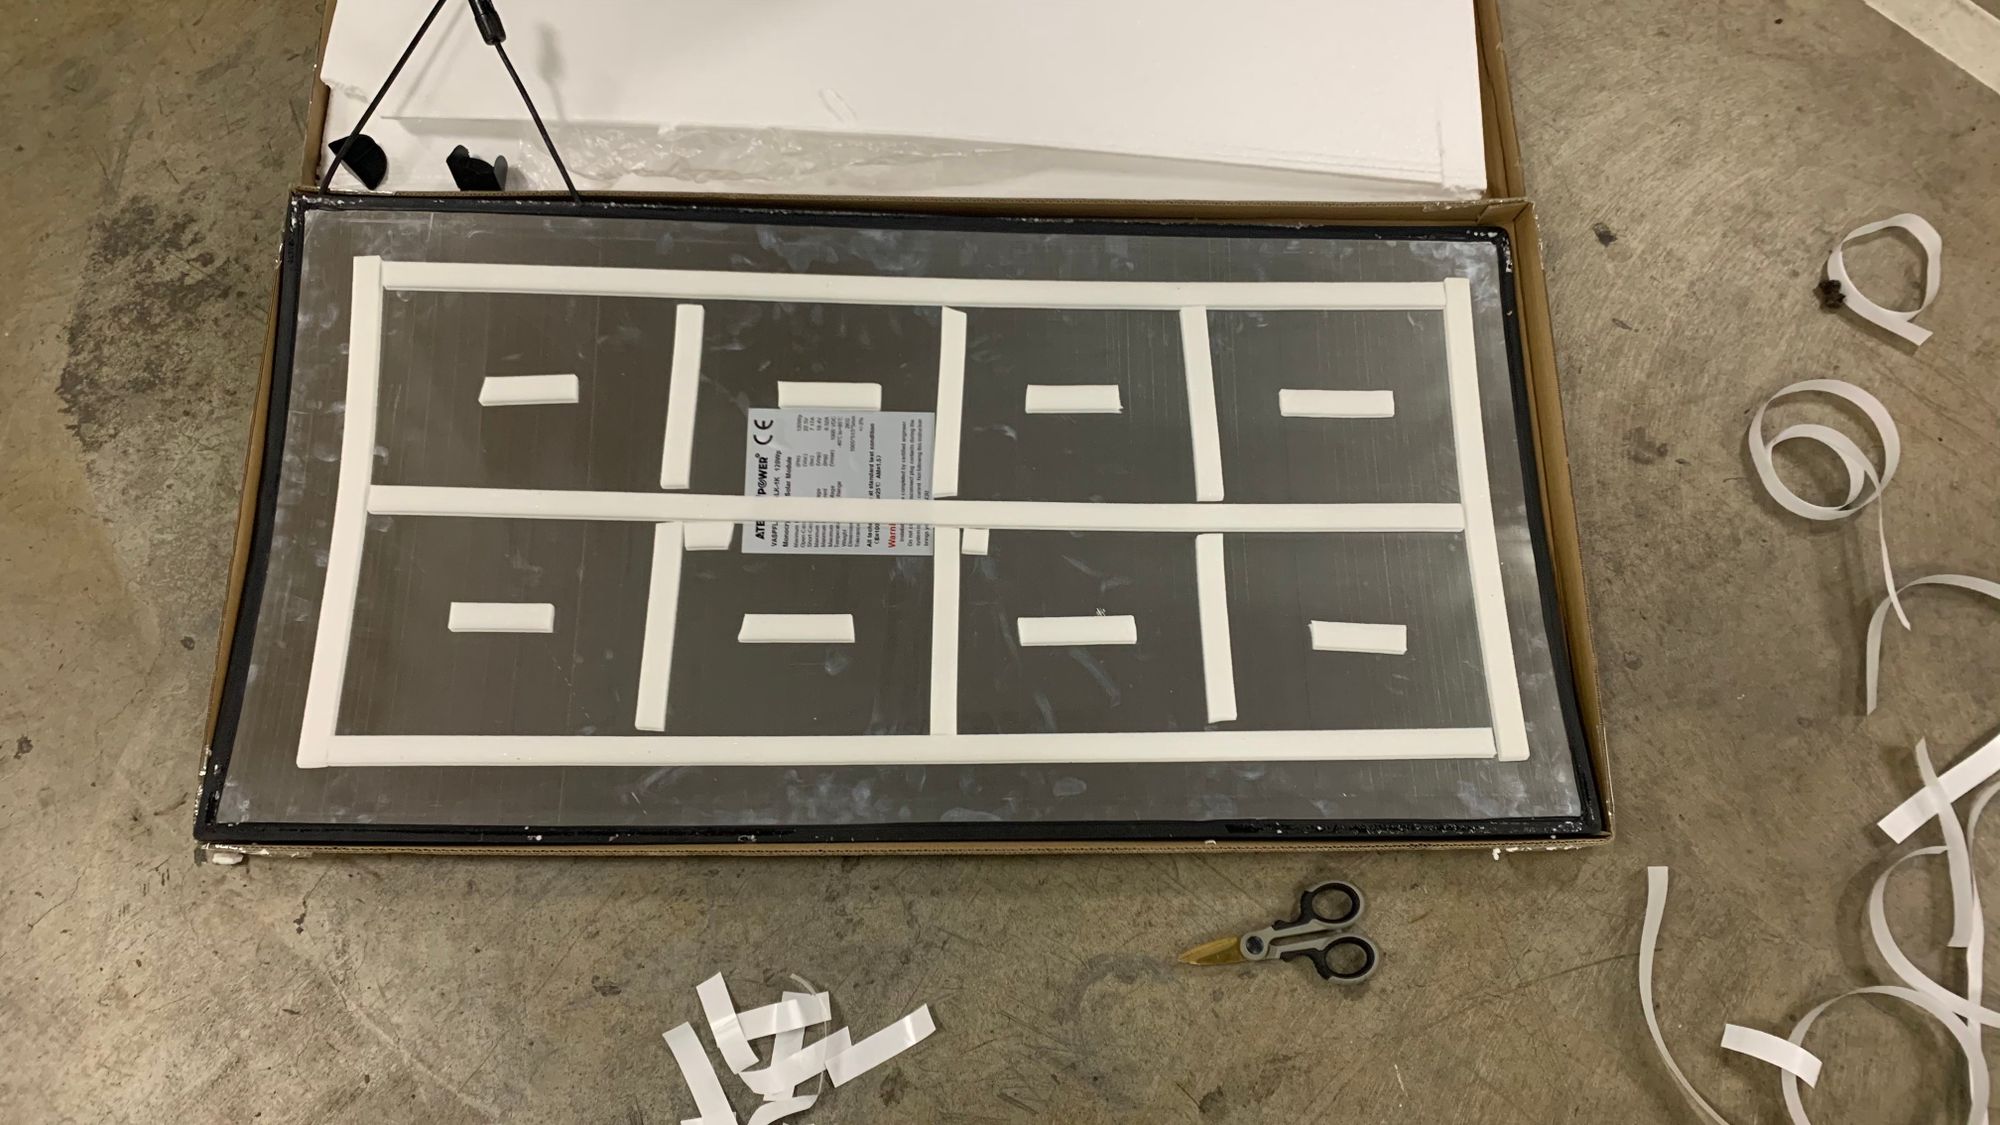
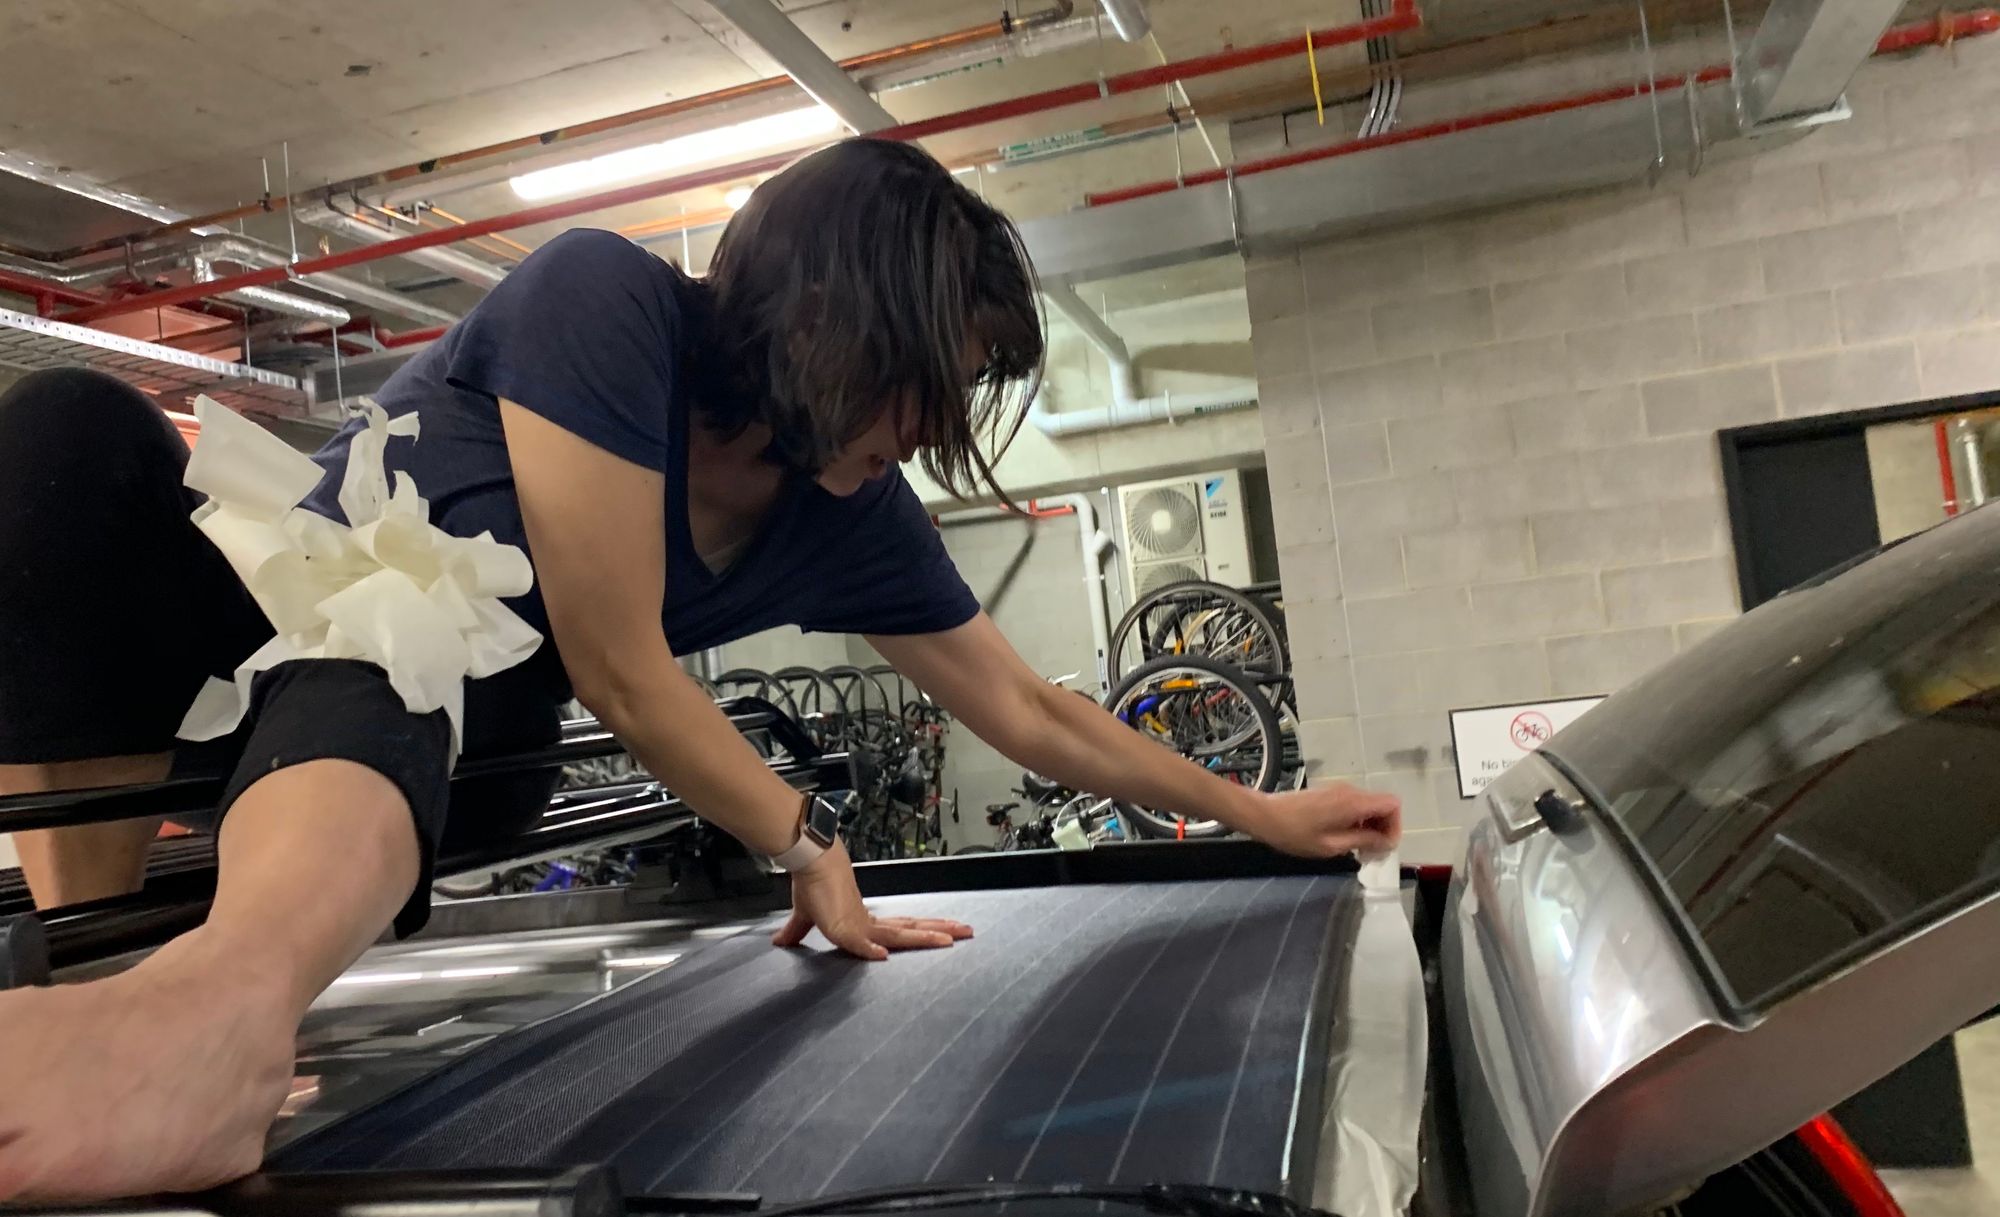
The thing we did to our panel was put some foam spacers on the bottom to try and encourage some airflow and stop the panel from banging up and down on the roof. There's no way around it, a panel on the roof of a car is going to get hot and with heat comes a loss of efficiency - I'm not sure that this step really makes much of a difference to that, but once the panel is mounted on the ceiling we won't get another chance to do this without cutting it off.
The next step was to clean and, no joke, sand the roof where the Sikaflex would be applied so we'd get maximum adhesion. Then we placed the panel in its final resting place on the roof and taped it up with masking tape to make sure if Sikaflex went where we didn't want it to go, it'd be easy to clean up.
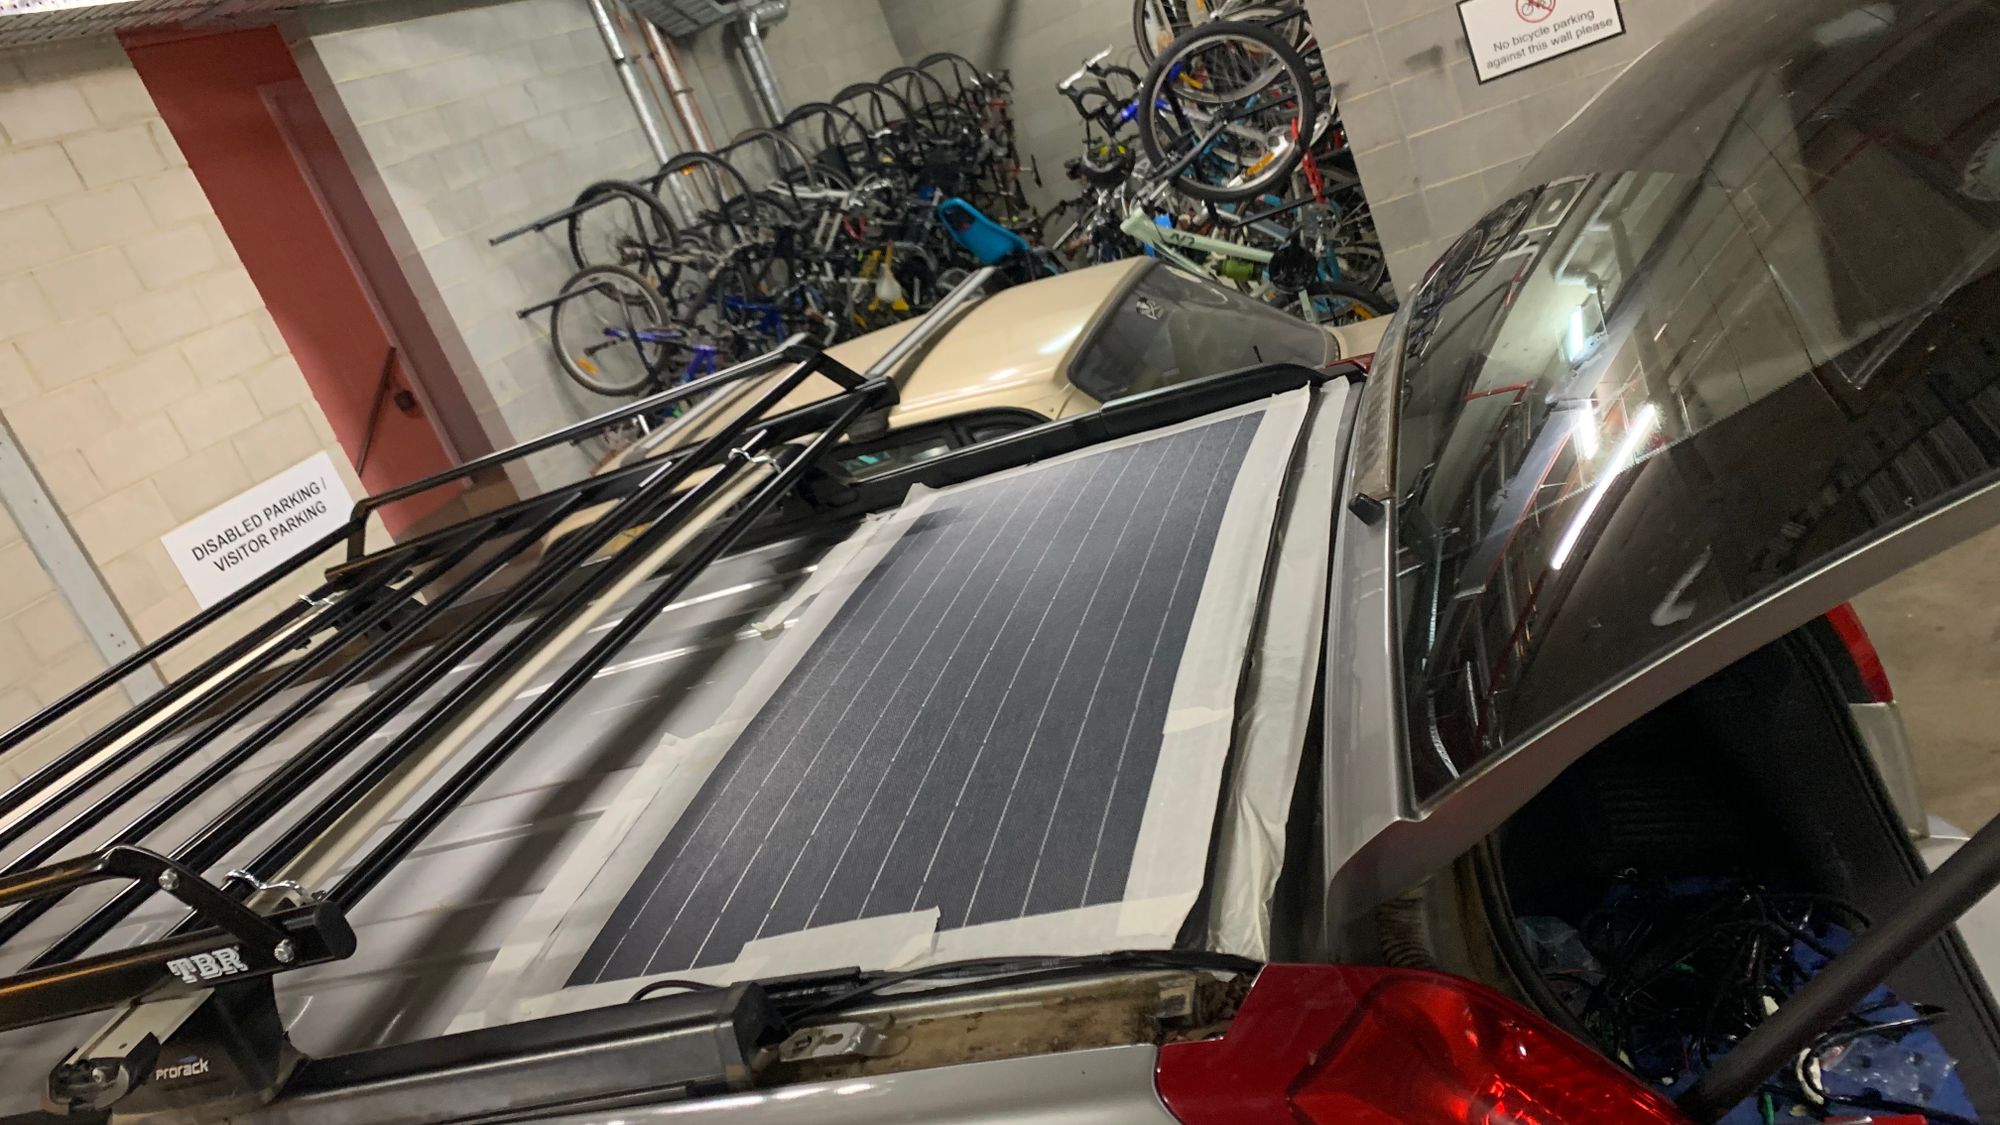
We injected Sikaflex underneath the edges of the panel, all the way around, and waited for it to set. When we came back the next day the solar panel was well and truly attached to the roof. Next we removed the tape and we were done!
Getting the solar panel cabling to run in to the back of the car was probably the trickiest part of the project. I managed to remove the rear left tail light and found an entry point via a sealed grommet. Lots of Sikaflex later I had a water tight passage for the cabling of the solar panel between the roof and the inside of the boot.
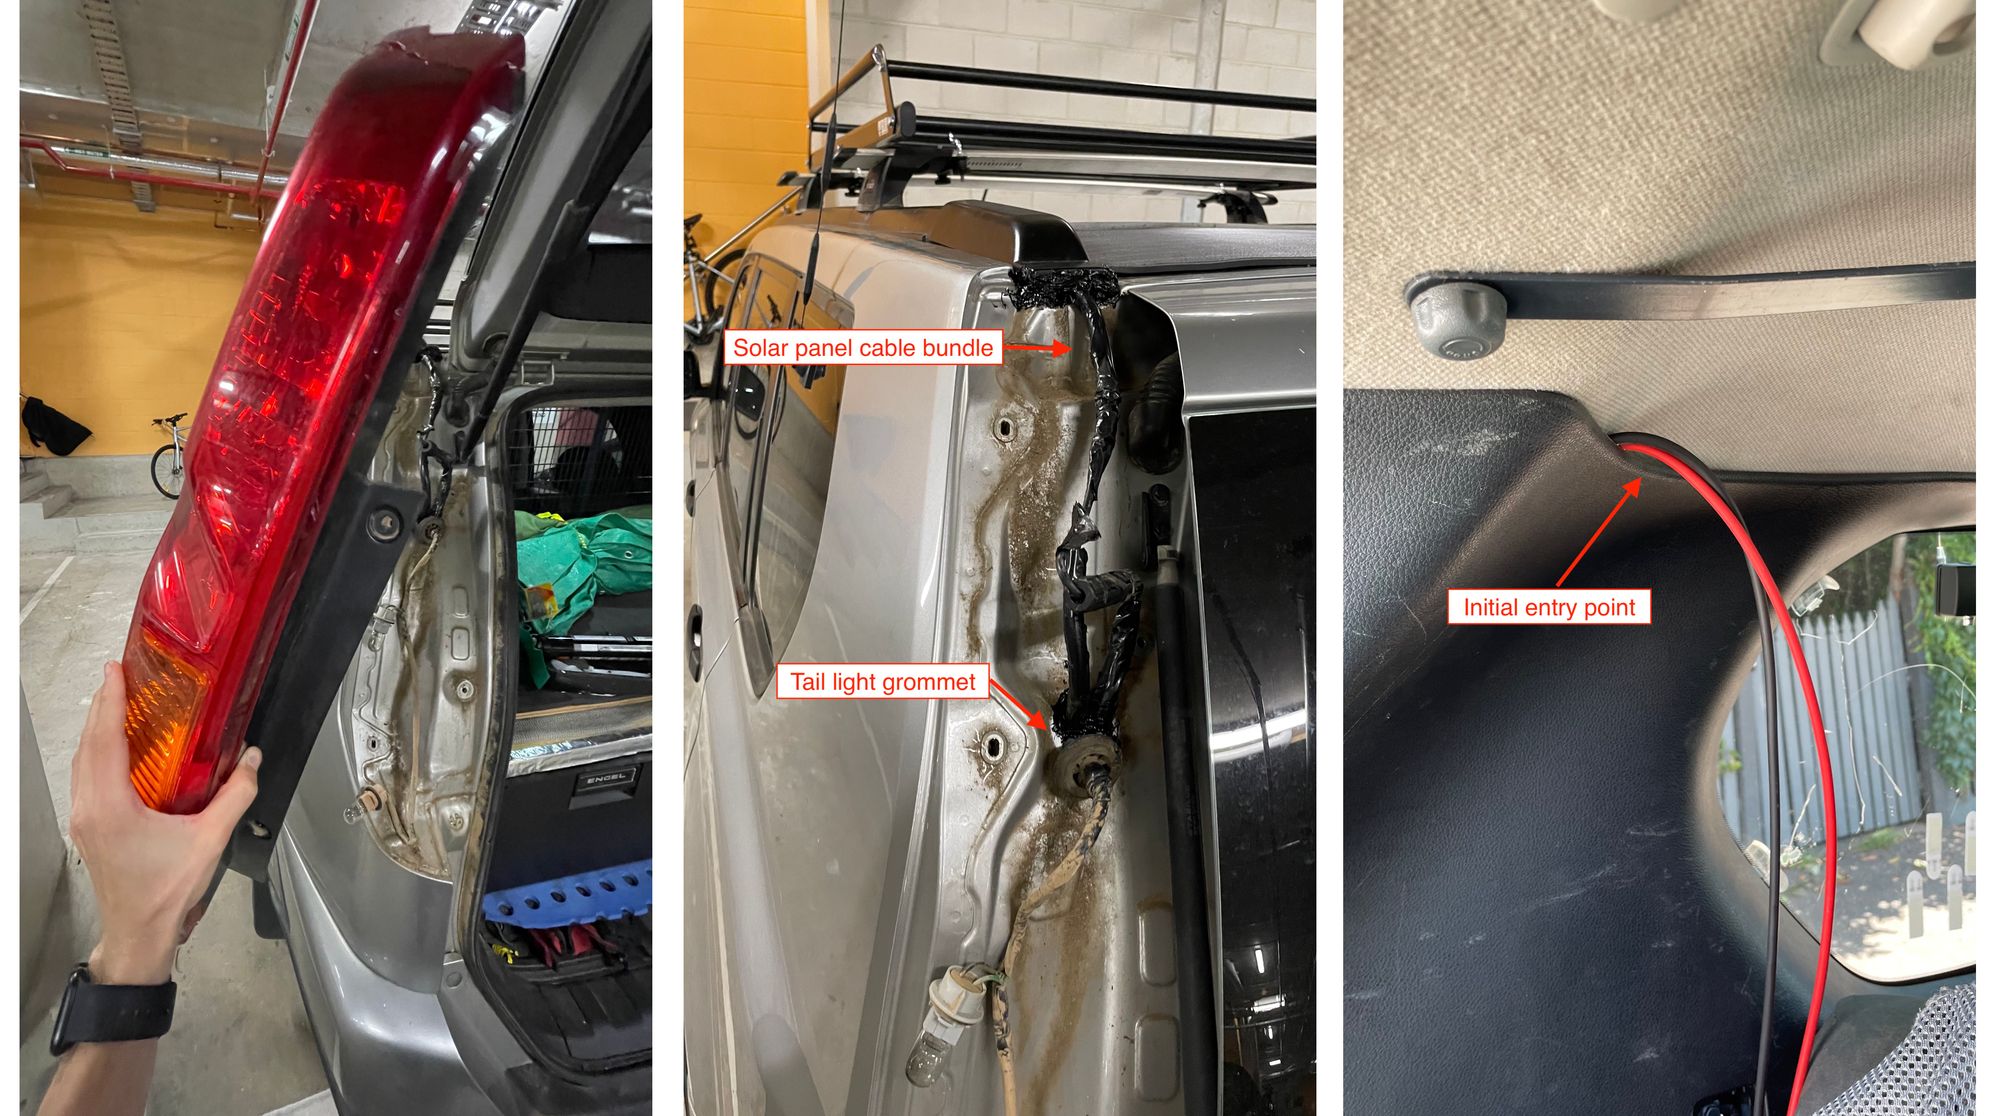
I like this entry point because it doesn't interrupt the boot opening mechanism but I definitely felt like I was fighting the car at times to make it work.
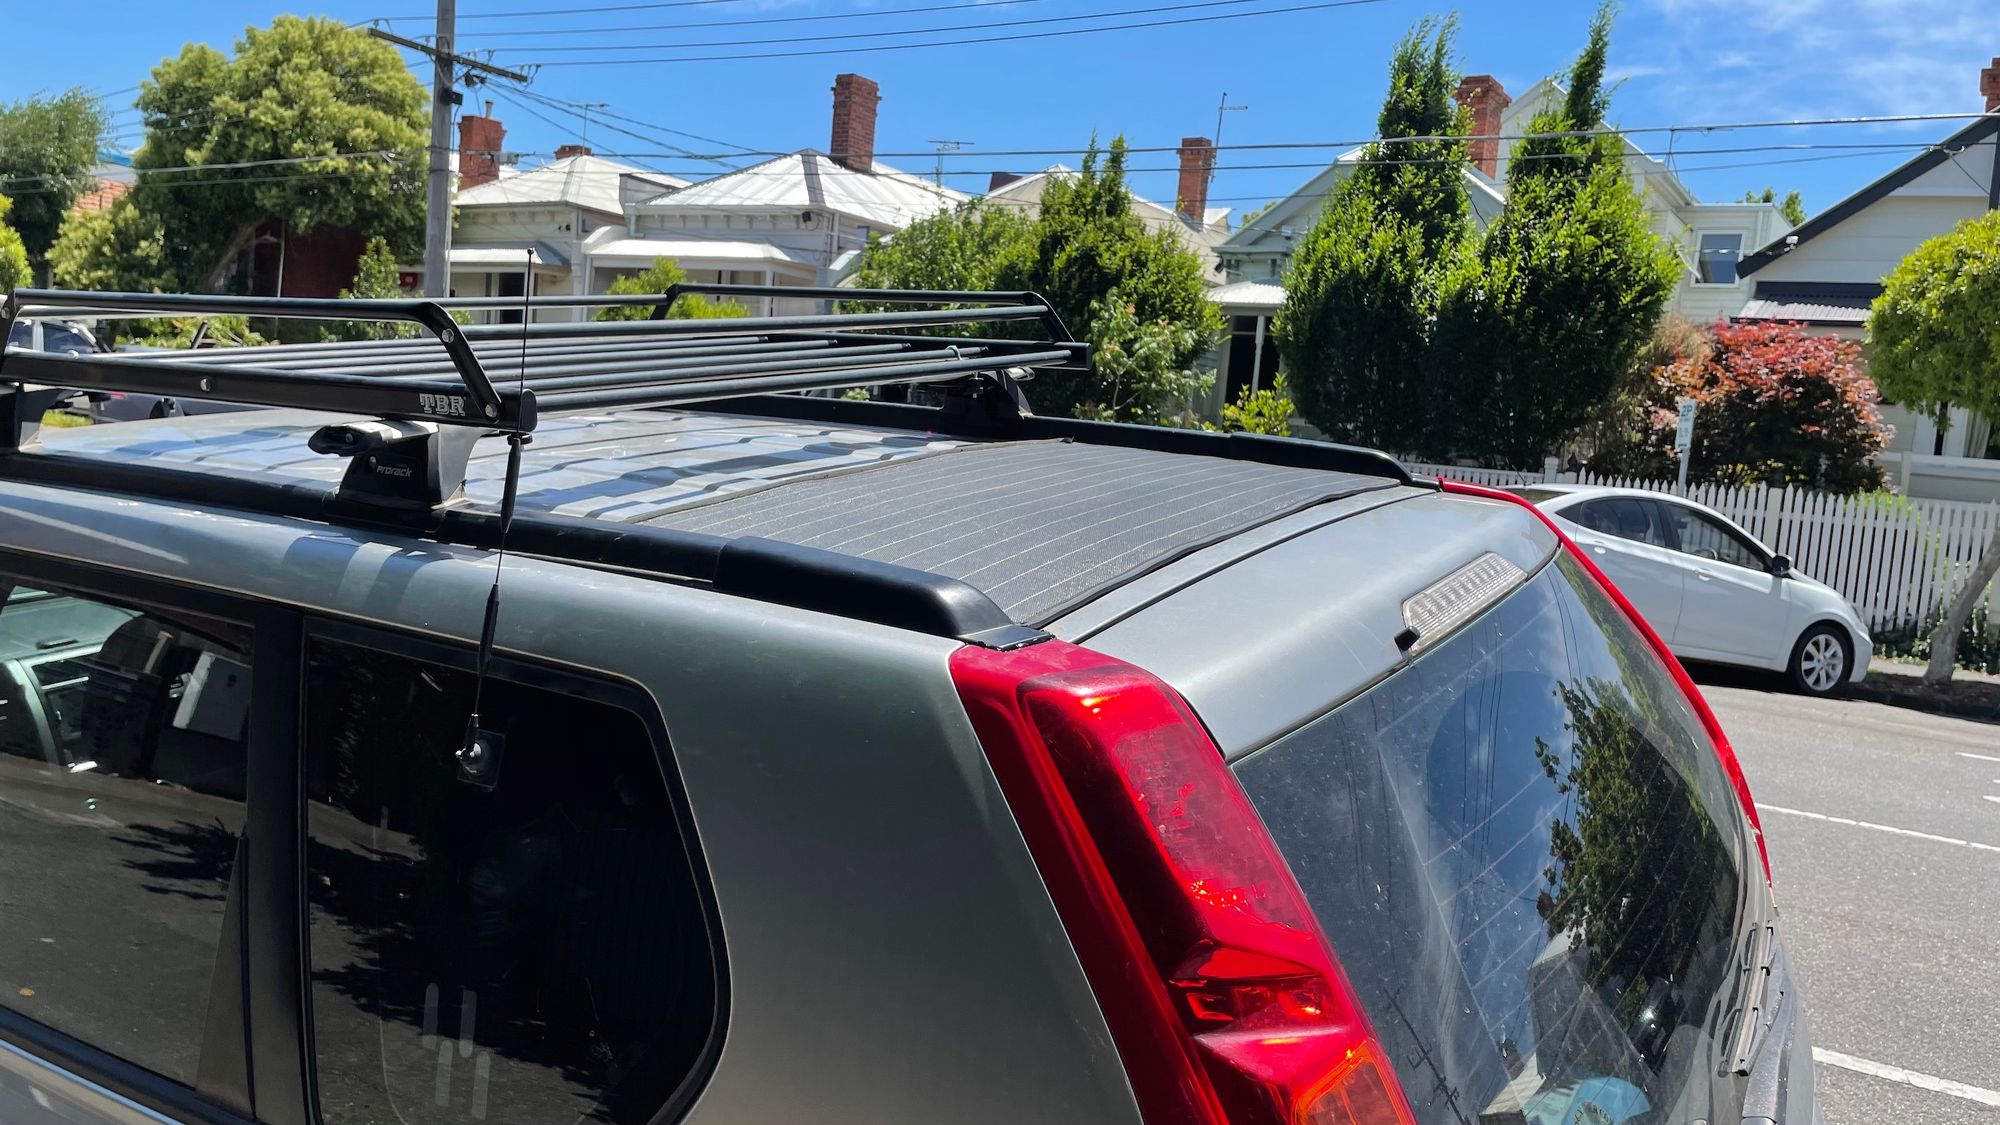
So what's the end result look like?
I'll do some more deep dives into how the solar panel charges our deep cycle battery and powers are fridge in a future blog article. TLDR on that is a 135AH AGM, Thunder 20A DC-DC charger, Projecta 12V low voltage cut off and an Engel 30L drawer fridge.